| User's Manual |
| Portal |
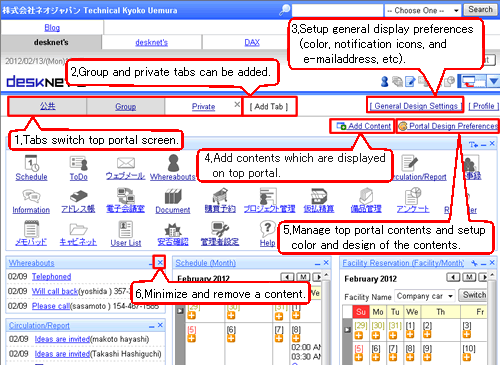
| (1) Public, Group, Private Tabs |
| (2) [Add Tab] Link |
| (3) [General Design Settings] Link |
| (4) [Add Content] Link |
| (5) [Portal Design Preferences] Link |
| (6) [Minimize], Remove] Icon |
Moving ContentsTo move a content displayed on portal, move mouse cursor to the content and drag & drop to another place. 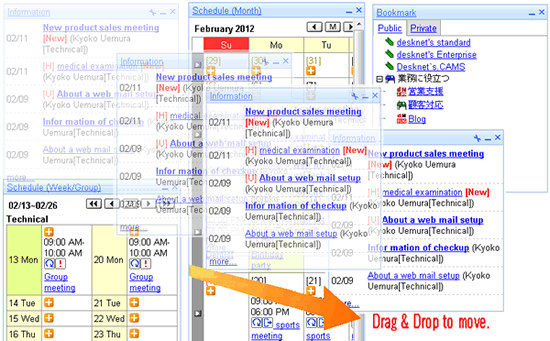
|
||
(1) Public, Group, Private Tabs Portal exists in each tab. Users cannot move and delete the contents in "Public" and "Group" portal. In "Private" portal, users can add and delete the contents and change the layouts. * If the [Start Screen] option is set to "Previously Displayed Portal", the screen you previously open is displayed after login. "Public" Tab: The portal which all users can use All the users can use this portal. |
||
"Group" Tab: The portal which users who belongs the group can use.Users who belongs the group can use this portal. |
||
"Private Tab": The portal a user can useThis is the portal a user can use. |
||
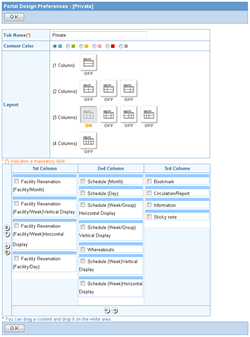
(2) [Add Tab] LinkWhen you click [Add Tab], [Portal Design Preferences] screen is displayed. Enter or specify Tab Name, Screen Color Preferences, Layout and click [OK] button to add the tab. The portal is now available. |
||
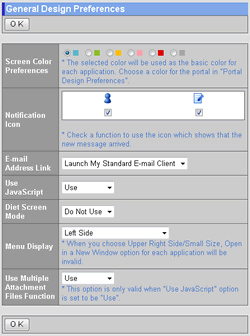
(3) [General Design Settings] LinkWhen you click [General Design Settings], the setting screen is displayed. |
||
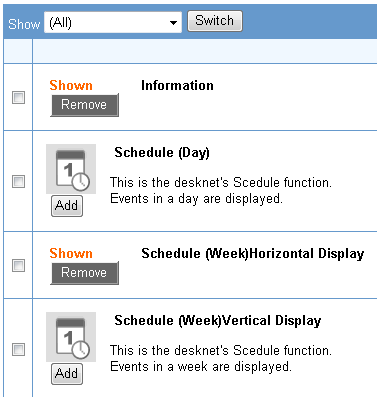
(4) [Add Content] LinkWhen you click [Add Content] link, the setup screen is displayed. |
||
(5) [Portal Design Preferences] LinkWhen you click [Portal Design Settings], the setting screen is displayed. |
||
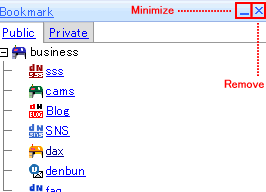
(6) [Minimize], Remove] IconIf you want to minimize a content on the portal, click
|
Displaying the Menu Content
The menu content can only be displayed on top, bottom, left, or right. |
Display on Top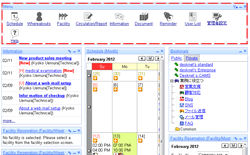 Display on Bottom 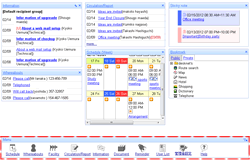 Display on Left 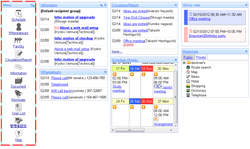 Display on Right 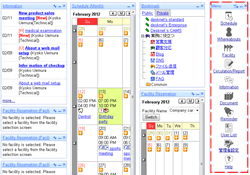 |
||||||||||
Setup the Information Content
Setup icon is displayed on the Information content. When you click the icon, you can select recipient groups. |
 |
||||||||||
Tab Menu
The tab menu that set by [Setup]-[Tab Menu Settings] will be displayed. Click a tab to open the page. |
Click [desknet's DAX]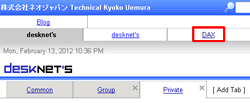 The page of [desknet's DAX] will be displayed and the tabs remain on the screen. 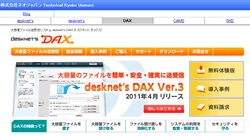 |
||||||||||
Logo on Menu Screen
When you click the logo displayed upper left side of the screen, the portal is displayed. |
 |
||||||||||
| Various Icons * In [General Design Settings]-[Notification Icon], you can choose show/hide icons.
|
|||||||||||
| Portal |
|---|
| User's Manual |
|
Copyright (C) 2012 NEOJAPAN,Inc. All Rights Reserved. |

