| User's Manual |
| Event Item Settings |
| For entry to the schedule, the list of event you can select will be displayed. You add, edit and delete events. * You should open Sub-window to use this function. |
|||||||||
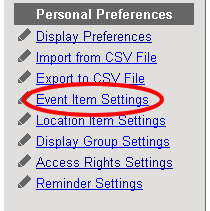
| 1. To Add an Event Item Step 1-1. Click [Event Item Settings] Link Click [Personal Preferences]-[Event Item Settings] in Sub-window. |
 |
||||||||
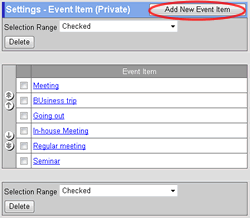
Step 1-2. Click .
Click [Add New Event Item] in the Event Item Settings screen. |
 |
||||||||
Step 1-3. Enter an Event Name
Enter an event name in [Event Item]. Step 1-4. Click . Click this button to create the event item. The event item will be displayed in the event list. |
 |
||||||||
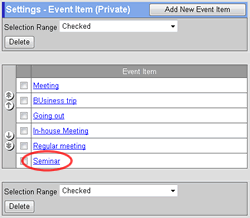
| 2. To Edit an Event Item Step 2-1. Click [Event Item Settings] Link The same as the step 1-1. Step 2-2. Click "Event Item" Link Click "Event Item" link you want to edit. Step 2-3. Enter an Event Name Enter an event name in [Event Item]. Step 2-4. Click . Click this button to change the event item. The event item will be displayed in the event list. |
  |
||||||||
| 3. To Delete Event Items Step 3-1. Click [Event Item Settings] Link The same as the step 1-1. Step 3-2. Select the Event Items You Want to Delete Select the event items you want to delete in the [Selection Range].
Step 3-3. Click . When you click this button a confirmation message will be displayed. Step 3-4. Click . Click this button to complete the deletion. |
  |
||||||||
| Schedule |
|---|
| User's Manual |
|
Copyright (C) 2012 NEOJAPAN,Inc. All Rights Reserved. |